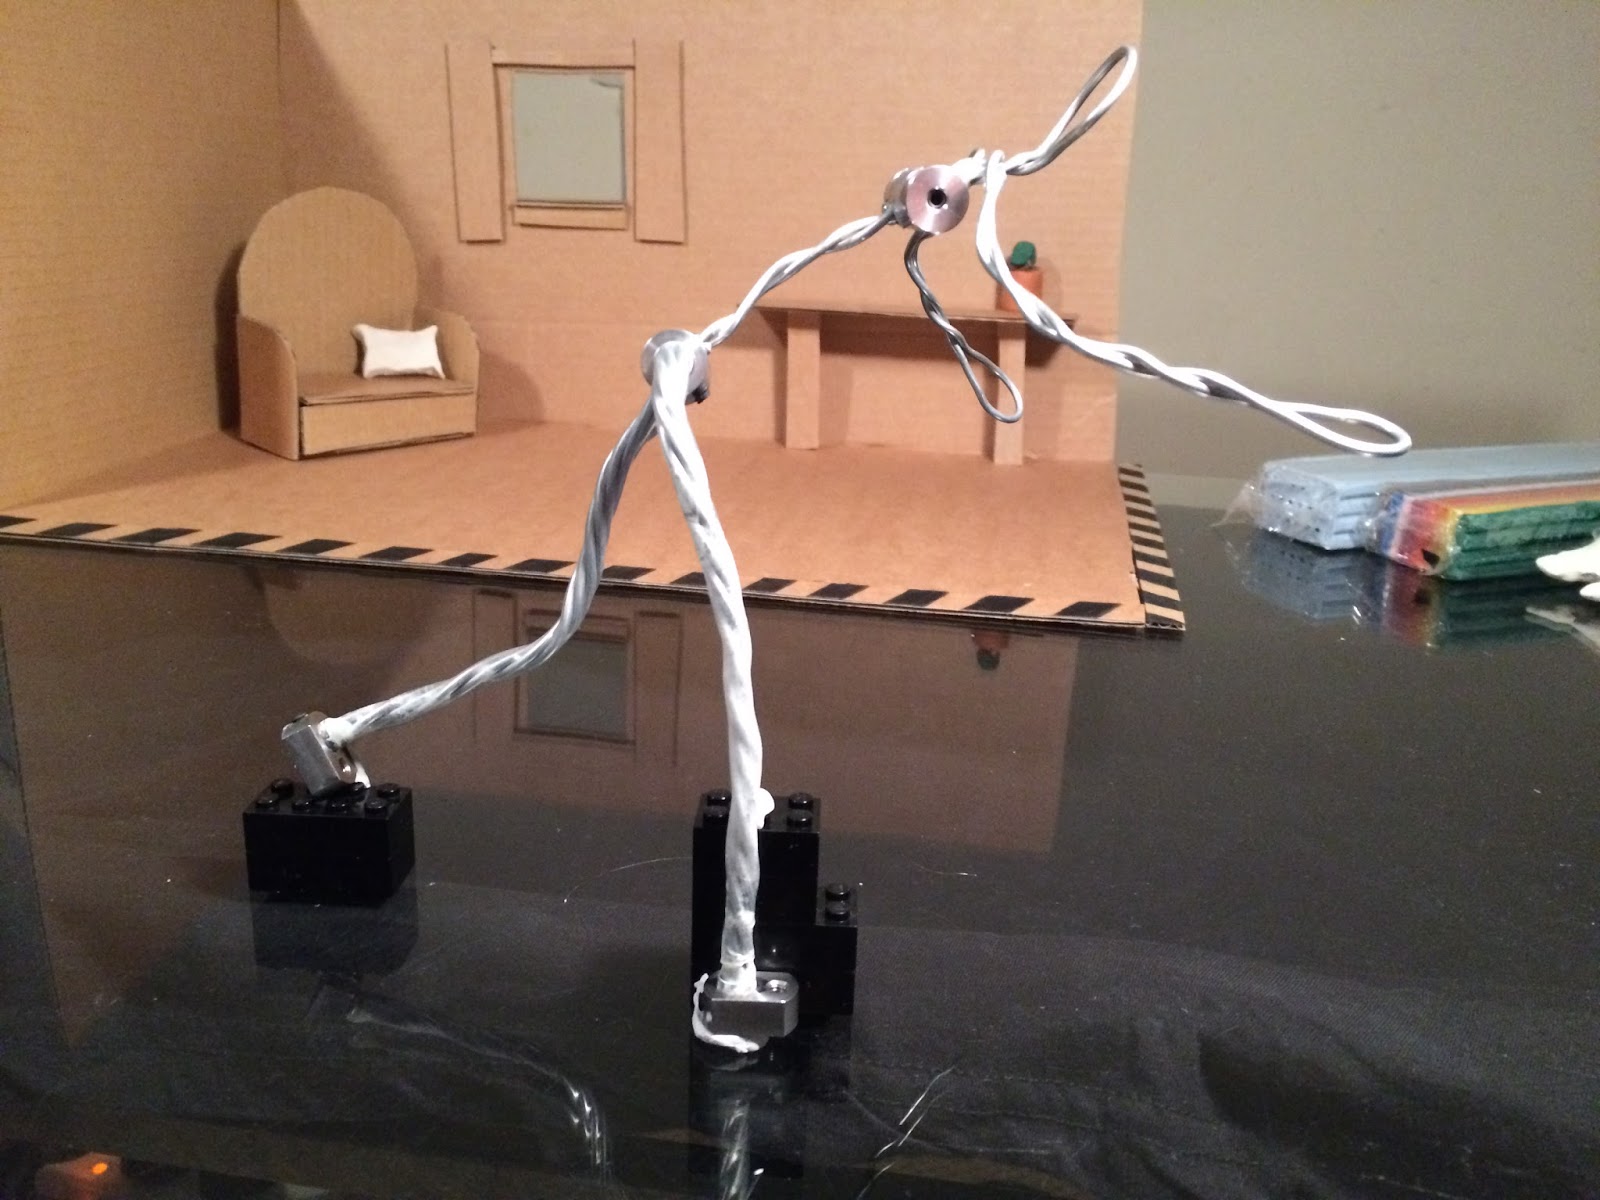
Animation this week has progressed well with more complex animation taking place involving the armature character. The character’s balance and movement in these scenes were more challenging in that the character was often on one foot or didn’t have an appropriate centre of gravity (as they were falling in the scene).
I took into consideration feedback from Monday’s supervisor meeting in that I should have the character test his footing before instantly trying to walk. I also wanted to ensure I didn’t rush frames the closer I was to finishing animating for the day. In my previous filmed scenes I noticed I tend to leave bigger gaps between movements as I become more tired and wary from the day’s filming. I initially wanted the character to have an additional uneasy movement after standing up but it did not look good so I cut it. However both of these feedbacks allowed me to add in a new action where the character tests their footing and he almost loses balance. I think this addition worked quite well.
I’m quite satisfied with the results of the animation I’ve done so far this week. Although less seconds have been animated, the quality I feel is the best it has been so far. The initial transition into the stumble could have been extended as it transitions quite quickly. However I’m also really happy with how the stumble and falling into the clay came out. This also marked the end of the very long single camera shot. The next shot is a close up.
I mentioned challenges about footing and this was why it took longer to animate. I anticipated that working with the character standing up and shifting his weight would be difficult but I had several ideas on how to combat this problem. I never ended up using magnets to stabilise the character because I assumed they would not work well through the thick glass. Because of the smooth surface, even if they did attract, they could be easily moved. I planned to use blu-tack to do most of the work as its always did the trick in my previous stop motion projects. Either by hiding it or masking it out, I was confident that I could get the poses I want.
While it wasn’t as easy as I expected, using blu-tack to hold down the character did work for the most part. I also used Lego bricks to support the foot that was in mid-air and this technique worked so much better than I expected. Because of the way I’d set up the lighting, the surface the character stands on is almost always solid black. Amazingly the Lego bricks when placed correctly can also appear as solid black and there is no visible support holding up the character. While many frames did end up including blu-tack, simply painting over this manually in Photoshop did the trick. I was required to process about 150 frames using this method, it only took about just over an hour to process all the frames.

As the character approached the clay pile, it was no longer possible to get away with the supports being the same colour as the background, as the clay pile was visible through the character. I had to use a larger support that was situated off camera. Then without moving the camera or character, I positioned the support on the opposite side and captured a frame. So I ended up having the same frame but with 2 different support locations. In Photoshop I layered the frames on top of each other and removed the support by erasing the layer on top revealing the layer on the bottom. As the character was soon about to completely fall over, I only needed to do masking on two occasions.

One challenge I did run in to is that my camera has a tendency to increase or decrease its brightness from time to time. I previously encountered this problem in my Rover Exploration animation. I do have a theory now of why this is happening. It is a camera problem, no changes in light are being made but it seems to interoperate it as that. I notice that sometimes I will make a character movement and it changes then I can move the character back and it will change the brightness back. This was mostly happening when I added or removed the black Lego bricks. So my theory is that while the viewer’s eye and the captured frame do not distinguish the Lego brick to the surface, the camera’s light sensor chip does and it has a hard time working out what’s going on so it alters the light to try and make sense of it. Not a very accurate theory but it consistently matched with what I was doing and when the brightness changed. Luckily, unlike the last time I encountered this problem, I had a better understanding on how to correct the changes in brightness. I compensated by altering the camera’s “Gain” setting to keep the lighting consistent. While not perfect (some tones and contrasts change too), the overall lighting did keep its consistency and no major light flicker was occurring as long as I kept an eye on the brightness.
