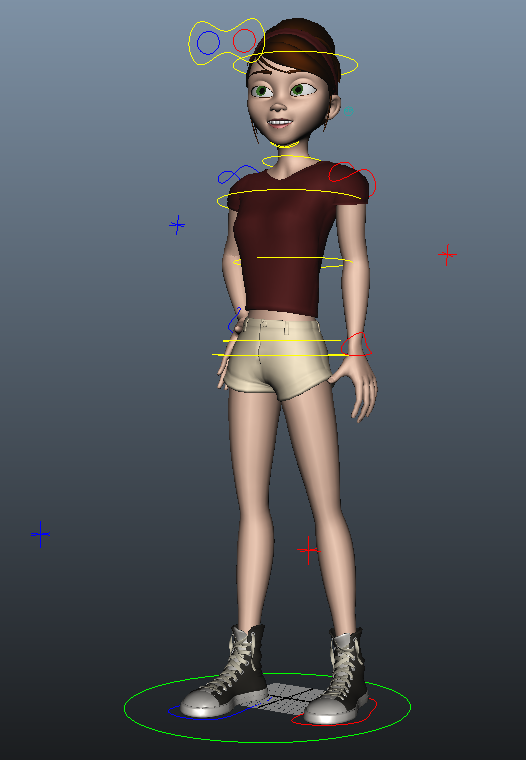
Skinning is definitely a time consumer. Not exactly difficult but it requires a lot of focus and tedious detailing to get the whole thing looking great when its animated.
Thankfully I found out about the ‘Mirror Skin Weights’ which has helped out a whole bunch with repetitive tasks. The only area that required editing after mirroring was the other hand as the joints weren’t exactly identical on either side (can’t remember how, think it was to do with pole vectors moving them) but that was sorted too.
The hands themselves have been quite a lot of effort on their own compared to the rig as a whole. On the whole the skinning is fine on them but not perfect. I’ve been unable to correct my weird thumb rotation axis thing and its not looking right at all when bending. Skinning was fine on it although not as easy as on the other fingers but the set driven key I put on it earlier is not working out for it at the moment with the thumb doing some unnatural movement. Set driven key took so long the first time I did it I’m unsure if I’ll be able to attempt a correction on it. Like the feet, rotating small values is fine but pushing it results in unnatural movement.


One thing I am happy with is the skin weights on the jaw. I’ve managed to fix this right up with the lips deforming much smoother and the neck moving better than it was before. I’ve also attached the teeth to the appropriate joint (although for some reason the upper teeth would not show its faces, had to re-import this part of the mesh). Of course there’s always room for improvement, I’d like to add more influences on to the cheek and upper lip to get it looking better.

I also got some decent deformation in the pelvis both where the legs bend and when the spine bends. Not getting volume deformation in the buttocks and making sure the spine didn’t go bumpy required a lot of time with the smooth brush to get a good result.

Most of the recent tweaks have mostly been going around with the add brush and adding low percentage influences on one joint to a neighbouring joint in order to achieve some more realistic movement that there is an influence of one joint to the other.
I would say that I’ve fixed most volume loss issues and each joint deforms as it should. I had to do many test animations to identify problem areas. The wrist skin weights were particularly tricky but having gradient influence from the wrist all the way up the forearm solved this.


The neck and chest didn’t require much editing but the clavicles were hard to work out. I’m not entirely satisfied with the movement the clavicles are giving but I think this is more from the way I connected up the joints and would want to spend time editing this either by adding in corrective joints or adding translation controls into the control shape. More skin weights influence from the upper arm into this area wouldn’t go a miss.
As of right now my biggest concern with the rig is actually with the wrap deformers. I was confident from my earlier testing that it would work fine but this is a problem I wasn’t able to foresee. With wrap deformers on all the necessary objects the rig is considerably slower to manipulate, there’s some noticeable lag. This disappears when the wrapped objects are hidden so I’ve added an attribute to the master controller that turns the visibility of these meshes on and off, just so you are able to take a look at the (naked) rig with no lag issues. It’s frustrating that this was one of the last steps in the rigging process and it was one that had a disappointing result with so few time to correct it. I have tried most of the different settings in the wrap deformer as well as combining meshes and wrapping those but I’m not getting any better results. Unfortunately my slightly laggy rig will have to do as I am unable to get any better results without drastically changing how the clothes are implemented into the rig.
