Now that each limb is rigged I have connected the hierarchy for the the rig. Making sure that each limb goes with the correct body part it should do. After that I began the process of skinning.
(Incoming mini rant, skip to after bullet points for actual important stuff)
I encountered a major problem at this stage which prevented me from moving on to the skinning for a few days. The paint script weights tool did not like me and would refuse to show joint influences on the model. I tried different skinning options on different computers on different versions of different models (also resetting all maya settings). I also messed around with every available option in the tool and checked all display options available to me in the scene. Not only that but even the lists of joints was unresponsive and would sometimes show and sometimes not. I tried troubleshooting this via the internet and it seems like a very common problem but no one method of fixing it. A lot of people had got it working through re-skinning it, or toggling an option on and off but I couldn’t get it to work.
But after a lot of playing around I had discovered my method to fix it which I noted down so I would remember for future uses:
- ‘Smooth Bind’ with ‘Normalize Weights’ set to ‘Post’
- Open ‘Paint Skin Weights Tool’
- Set ‘Normalize Weights’ to ‘Interactive’
- Select vertex on mesh
- Select ‘Show influences on the selected verts’
Then the influences would magically appear. The weirdest method ever but if it works I’m not complaining. Unfortunately the colour ramp options were broken for me and would only appear in orange but at least I had something.
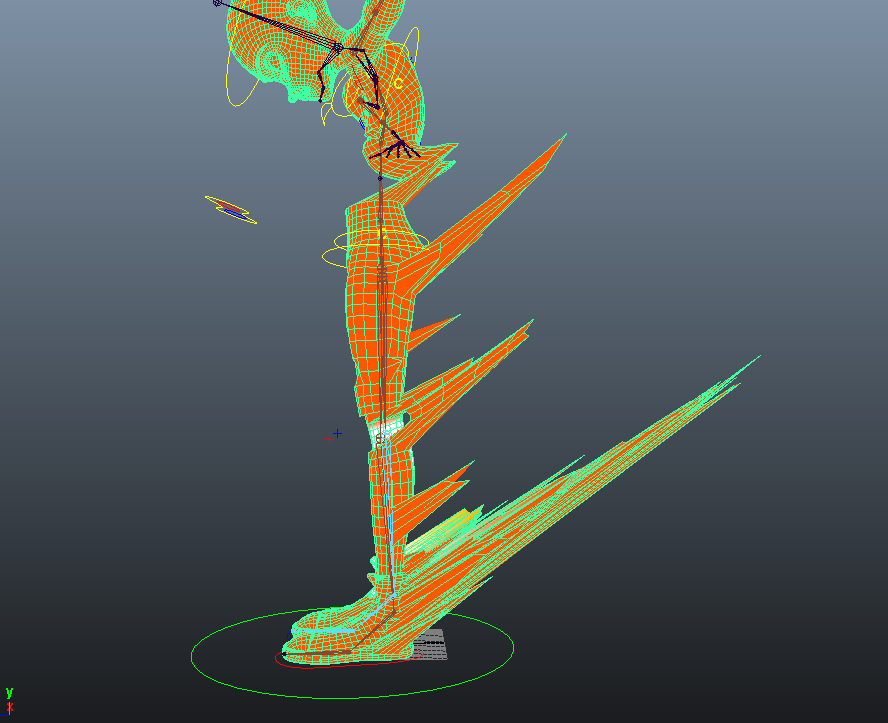
The above picture shows the result of the initial skinning, as expected. I have went through the joints and flooded out influences where not needed and fixing any major “you shouldn’t be there”s. By keeping normalise weights on means I was able to avoid any “jumps to the origin” or unexpected movement.

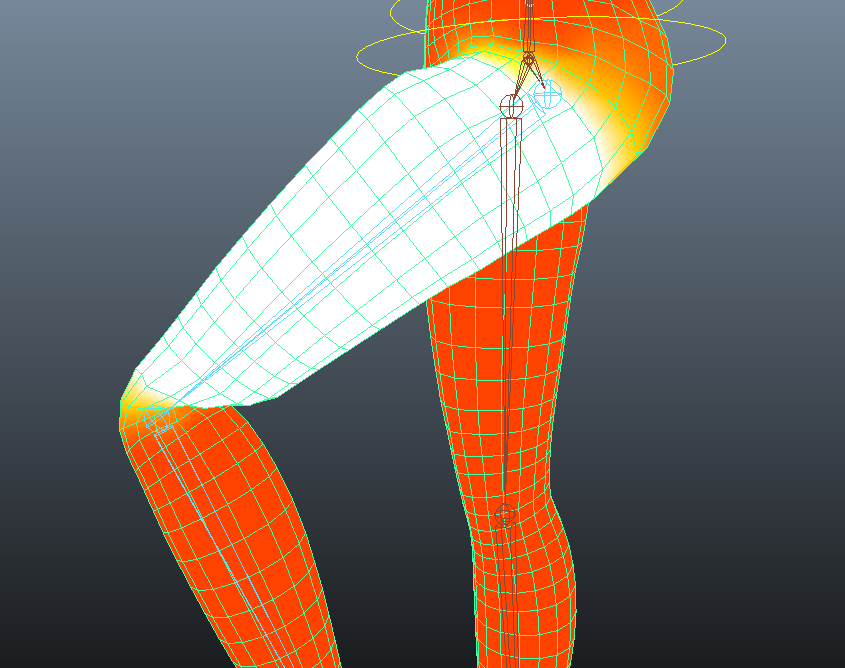
I have done some work on fixing volume issues such as on the knees and a little bit on the spine. The skinning progress as it stands right now is each part of the body is moving with the part of the body it should be and that there are no crazy deformations. Volume loss is still present on the elbows and wrist twist. The feet don’t bend so great right now and more time is needed to fix up the smoothing on the rather detailed mesh.
The head and neck are pretty much fine but the jaw is moving a lot of what it shouldn’t and not deforming naturally. I’ve used a surface soft select to get the lips separated but I’ve not went into any detail fixing it yet.
I’ve tested using wrap deformers on the clothes to make sure they bind and move with the mesh and it seems to work as expected, even covering up some of the bumpy work I’ve got on the spine joint influences (but that’s cheating).
Moving on from here is simply fixing up anything I’ve mentioned so far as well as trying out as many poses as I can to make sure every controller is deforming the mesh correctly.